去年の TeX Live 2012 と同じように、ネット経由でインストールするのが最も簡明だと思う。
そのためのインストーラ(install-tl-unx.tar.gz)は、ウェブブラウザでダウンロードするなら、以下のページに行って入手すればよい。
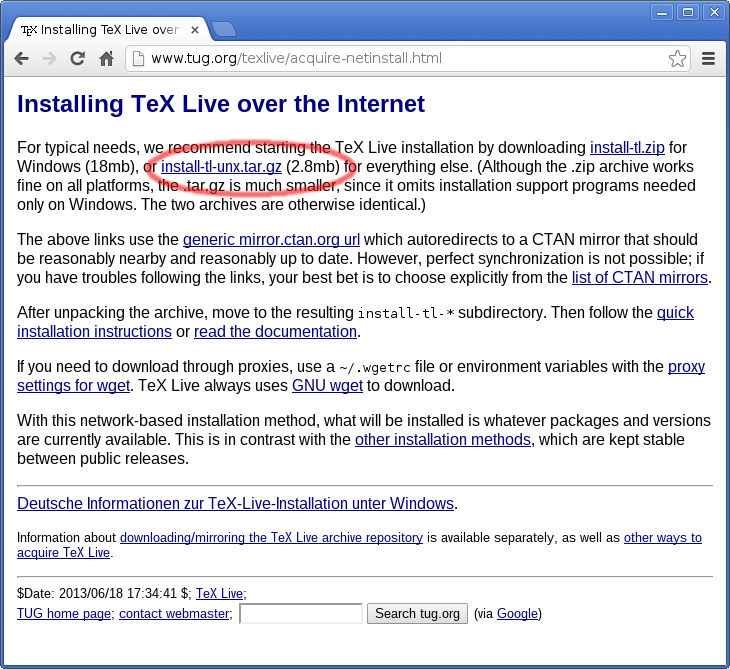
http://www.tug.org/texlive/acquire-netinstall.html
あるいは、次のように、コンソールから wget でダウンロードしてもよい。
そして、ダウンロードしたファイルを展開し、そのディレクトリに移動して、インストーラを起動する。
インストーラが起動すると、いろいろとメッセージが出力された後、“Enter command: ” でコマンド待ちになる。
ここで、“ I ” を入力するとインストールが始まる。
インストールの(推定)所要時間は、各ファイルのインストールごとに表示される。
ネットの混み具合やミラーサーバーの機嫌によってかなり変動するが、概ね1時間程度だろうか。
フロントエンドとして、Kile を使用する場合の設定は、次のようになる。
LaTeX
DVItoPDF
ViewPDF
標準でマックのヒラギノ・フォントをPDFに埋め込むようにしているので、
/usr/local/texlive/texmf-local/fonts ディレクトリの下に /opentype/public/hiragino というサブディレクトリを作って、そこにヒラギノ6書体のフォント・ファイルを入れてある。
【補足1】
PDFファイルにはヒラギノ・フォントを埋め込むことにしているので、Okular で日本語も正しく表示されるのだが、和文フォント非埋め込みタイプのPDFファイルも閲覧できるように、fontconfig の設定を行なっている。
設定ファイル(local.conf)の中身は、以前こちらの拙記事に通りすがりの方から適確なコメントを頂いたので、それを参考にして以下のように記述してある。
</etc/fonts/local.conf>
(なお、ここで使用されるヒラギノ・フォントはシステムフォントなので、上の texmf-local 配下に入れたのと同じ6書体のフォントファイルが /usr/share/fonts/hiragino にもインストールしてある)
【補足2】
【補足1】のように fontconfig を設定しておくと、Texmaker でも内蔵の PDF Viewer に和文フォントを表示することができる。
なお、Gentoo Linux で Texmaker を使う場合は、
(TeX Wiki > Texmaker で指摘されている「\section{ を入力した直後に日本語入力しようとすると日本語入力がONにならなかったり、正しいかな漢字変換できなかったりする」ような不具合もない)
そのためのインストーラ(install-tl-unx.tar.gz)は、ウェブブラウザでダウンロードするなら、以下のページに行って入手すればよい。
http://www.tug.org/texlive/acquire-netinstall.html
あるいは、次のように、コンソールから wget でダウンロードしてもよい。
そして、ダウンロードしたファイルを展開し、そのディレクトリに移動して、インストーラを起動する。
wget http://mirror.ctan.org/systems/texlive/tlnet/install-tl-unx.tar.gz(註:“20130703” のところは、ダウンロードした日時によって変化する)
tar zxvf install-tl-unx.tar.gz
cd install-tl-20130703
sudo ./install-tl
インストーラが起動すると、いろいろとメッセージが出力された後、“Enter command: ” でコマンド待ちになる。
ここで、“ I ” を入力するとインストールが始まる。
$ sudo ./install-tl
Loading ftp://ftp.kddilabs.jp/CTAN/systems/texlive/tlnet/tlpkg/texlive.tlpdb
Installing TeX Live 2013 from: ftp://ftp.kddilabs.jp/CTAN/systems/texlive/tlnet
Platform: x86_64-linux => 'x86_64 with GNU/Linux'
Distribution: net (downloading)
Using URL: ftp://ftp.kddilabs.jp/CTAN/systems/texlive/tlnet
Directory for temporary files: /tmp
=================> TeX Live installation procedure <================
======> Letters/digits in <angle brackets> indicate <=======
======> menu items for commands or options <=======
Detected platform: x86_64 with GNU/Linux
<B> binary platforms: 1 out of 21
<S> set installation scheme (scheme-full)
<C> customizing installation collections
44 collections out of 45, disk space required: 3295 MB
<D> directories:
TEXDIR (the main TeX directory):
/usr/local/texlive/2013
TEXMFLOCAL (directory for site-wide local files):
/usr/local/texlive/texmf-local
TEXMFSYSVAR (directory for variable and automatically generated data):
/usr/local/texlive/2013/texmf-var
TEXMFSYSCONFIG (directory for local config):
/usr/local/texlive/2013/texmf-config
TEXMFVAR (personal directory for variable and automatically generated data):
~/.texlive2013/texmf-var
TEXMFCONFIG (personal directory for local config):
~/.texlive2013/texmf-config
TEXMFHOME (directory for user-specific files):
~/texmf
<O> options:
[ ] use letter size instead of A4 by default
[X] allow execution of restricted list of programs via \write18
[X] create all format files
[X] install macro/font doc tree
[X] install macro/font source tree
<V> set up for portable installation
Actions:
<I> start installation to hard disk
<H> help
<Q> quit
Enter command: I
Installing to: /usr/local/texlive/2013
Installing [0001/2704, time/total: ??:??/??:??]: 12many [376k]
Installing [0002/2704, time/total: 00:01/01:12:24]: 2up [66k]
Installing [0003/2704, time/total: 00:01/01:01:41]: Asana-Math [458k]
Installing [0004/2704, time/total: 00:02/01:00:28]: ESIEEcv [137k]
Installing [0005/2704, time/total: 00:03/01:18:45]: FAQ-en [4926k]
(以下省略)
インストールの(推定)所要時間は、各ファイルのインストールごとに表示される。
ネットの混み具合やミラーサーバーの機嫌によってかなり変動するが、概ね1時間程度だろうか。
フロントエンドとして、Kile を使用する場合の設定は、次のようになる。
LaTeX
Command: /usr/local/texlive/2013/bin/x86_64-linux/platex
Options: -interaction=nonstopmode '%source'
DVItoPDF
Command: /usr/local/texlive/2013/bin/x86_64-linux/dvipdfmx
Options: -f otf-hiragino.map '%S.dvi'
(ヒラギノ・フォントを埋め込んだPDFを生成する)
ViewPDF
Command: okular
Options: '%target'
標準でマックのヒラギノ・フォントをPDFに埋め込むようにしているので、
/usr/local/texlive/texmf-local/fonts ディレクトリの下に /opentype/public/hiragino というサブディレクトリを作って、そこにヒラギノ6書体のフォント・ファイルを入れてある。
- HiraKakuPro-W3.otf
- HiraKakuPro-W6.otf
- HiraKakuStd-W8.otf
- HiraMaruPro-W4.otf
- HiraMinPro-W3.otf
- HiraMinPro-W6.otf
【補足1】
PDFファイルにはヒラギノ・フォントを埋め込むことにしているので、Okular で日本語も正しく表示されるのだが、和文フォント非埋め込みタイプのPDFファイルも閲覧できるように、fontconfig の設定を行なっている。
設定ファイル(local.conf)の中身は、以前こちらの拙記事に通りすがりの方から適確なコメントを頂いたので、それを参考にして以下のように記述してある。
</etc/fonts/local.conf>
<?xml version="1.0"?>
<!DOCTYPE fontconfig SYSTEM "fonts.dtd">
<fontconfig>
<!-- Ryumin を ヒラギノ明朝体2 で置き換える -->
<match target="pattern">
<test name="family" compare="contains">
<string>Ryumin</string>
</test>
<edit name="family" mode="assign_replace" binding="strong">
<string>Hiragino Mincho ProN</string>
</edit>
</match>
<!-- GothicBBB を ヒラギノ角ゴ3 で置き換える -->
<match target="pattern">
<test name="family" compare="contains">
<string>GothicBBB</string>
</test>
<edit name="family" mode="assign_replace" binding="strong">
<string>Hiragino Kaku Gothic ProN</string>
</edit>
</match>
</fontconfig>
(なお、ここで使用されるヒラギノ・フォントはシステムフォントなので、上の texmf-local 配下に入れたのと同じ6書体のフォントファイルが /usr/share/fonts/hiragino にもインストールしてある)
【補足2】
【補足1】のように fontconfig を設定しておくと、Texmaker でも内蔵の PDF Viewer に和文フォントを表示することができる。
なお、Gentoo Linux で Texmaker を使う場合は、
- app-i18n/ibus
- app-i18n/ibus-qt
- app-i18n/mozc
(TeX Wiki > Texmaker で指摘されている「\section{ を入力した直後に日本語入力しようとすると日本語入力がONにならなかったり、正しいかな漢字変換できなかったりする」ような不具合もない)


